
Design Bleuprint: Upcycling Soda Crates
Here’s a refreshing way for upcycling soda crates!
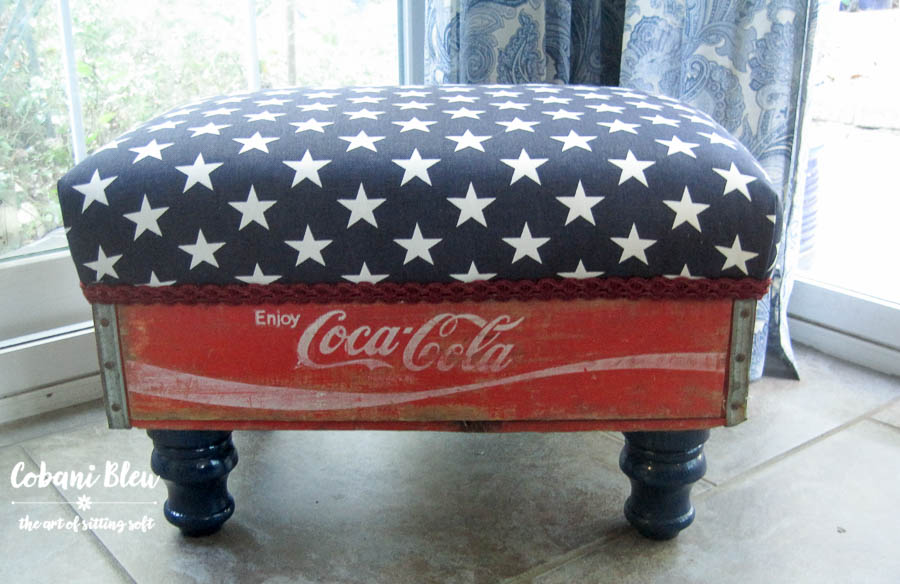
I love to create footstools from soda crates, or as we say in the south, Coke crates! Haha!
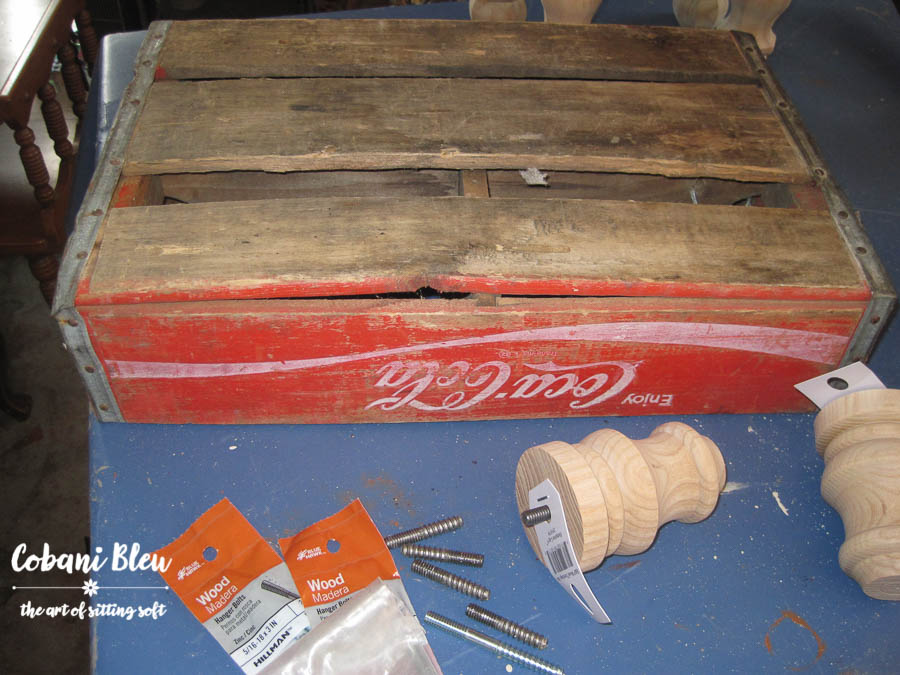
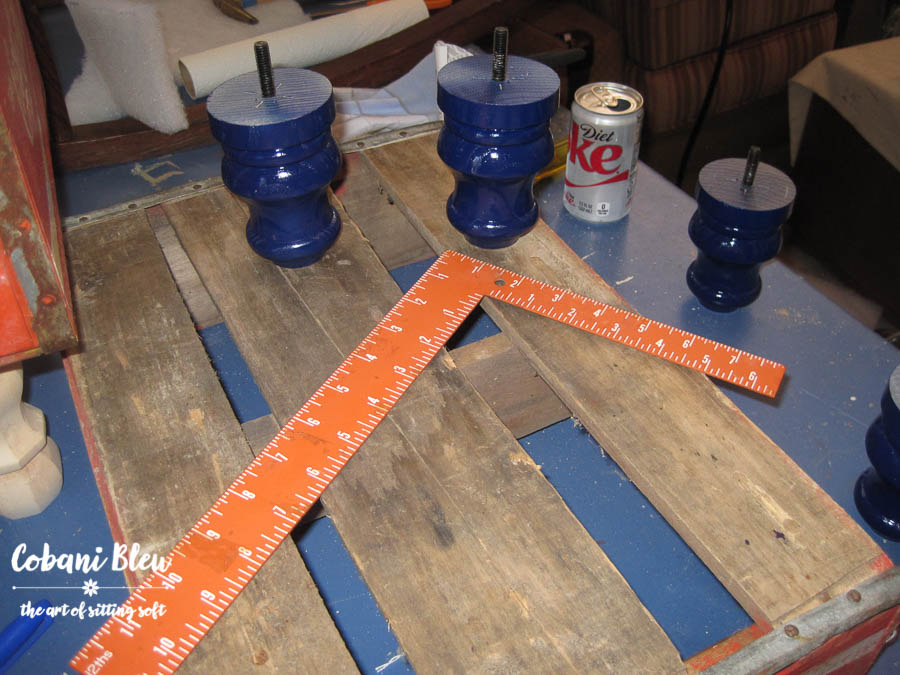
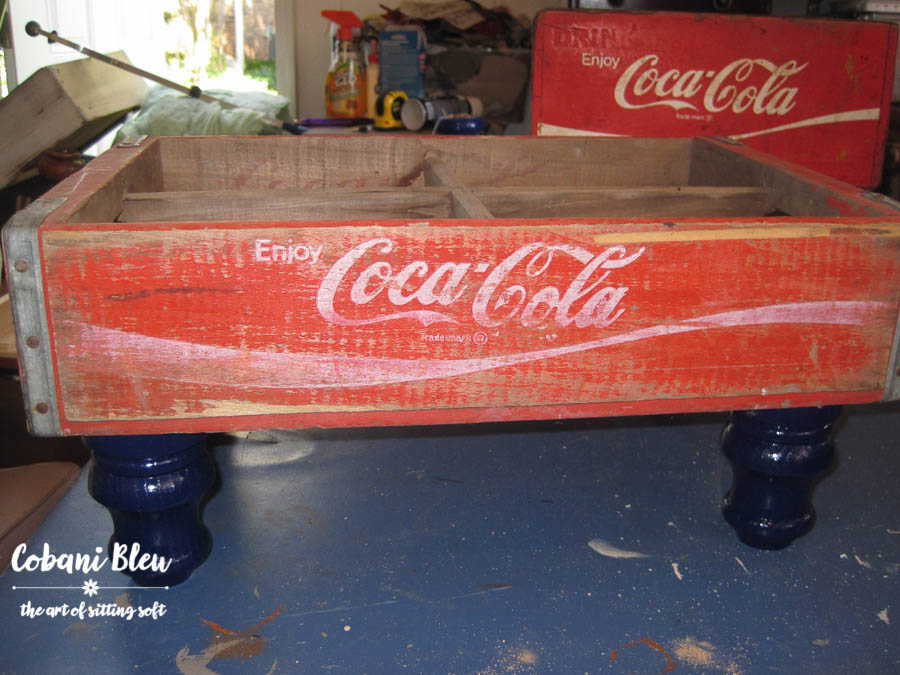
The first step is to paint or stain the feet you want to use. Cute feet can be found at Lowe’s or Home Depot fairly inexpensively. But there are several online sources as well. One of my favorites is Osbourne Wood Products. They are located in North Georgia and their customer service and selection is incredible. This is not a sponsored post, I just like to share my favorite resources.
So once I have my feet ready to go, I attached them to the crate. I flip the crate over and mark where I want them in each corner. This is super easy with my little orange square. I found this square on a junking trip. This small square is such a handy tool, I can’t tell you how many times I reach for it.
So another important tip in picking out a crate is to make sure the bottom is in good shape. I love that crates are rustic and well used, but often these crates are in bad shape. The bottom needs to be sturdy enough to support the feet. And I like stools that are strong enough to sit on, so you don’t want the bottom to break on you!
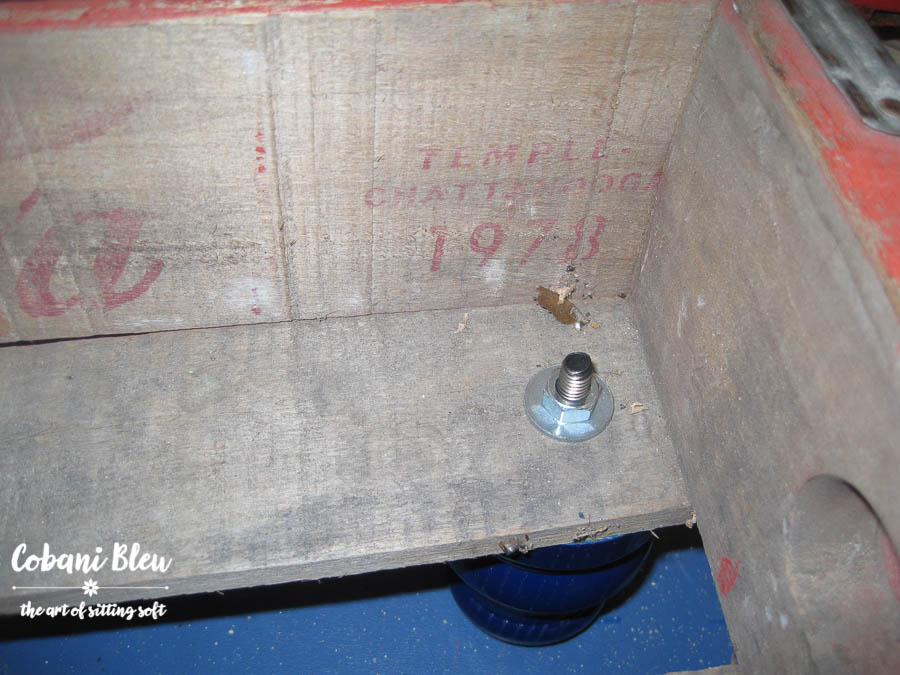
I drill the holes and bolt the feet into the crate. Sometimes (usually) I will replace the hanger bolts included with the feet with longer bolts so that the feet can be securely attached. Hanger bolts are thredded on both ends allowing you to screw it into the foot and use a washer and nut on the other end. These can be purchased at a hardware or big box store.
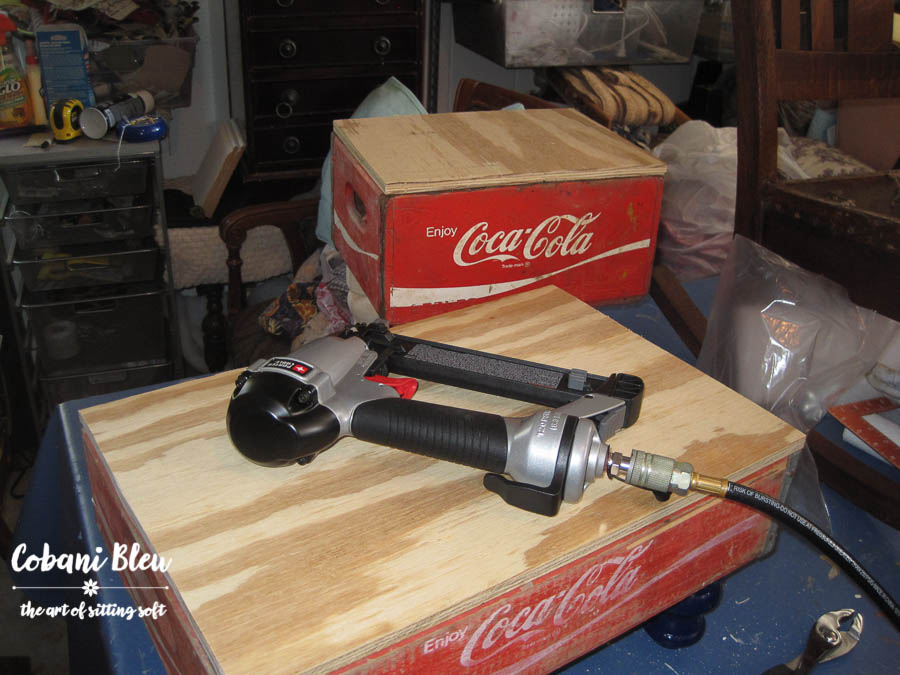
Next step is to add a piece of plywood to the top. I cut the plywood to size and using my nail gun, I secure it to the top of the crate.
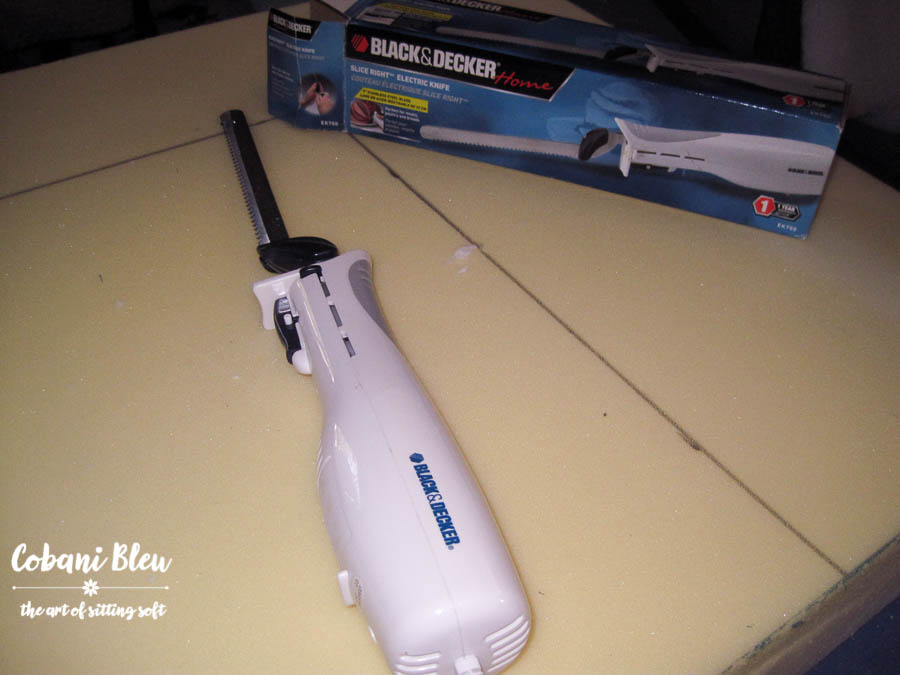
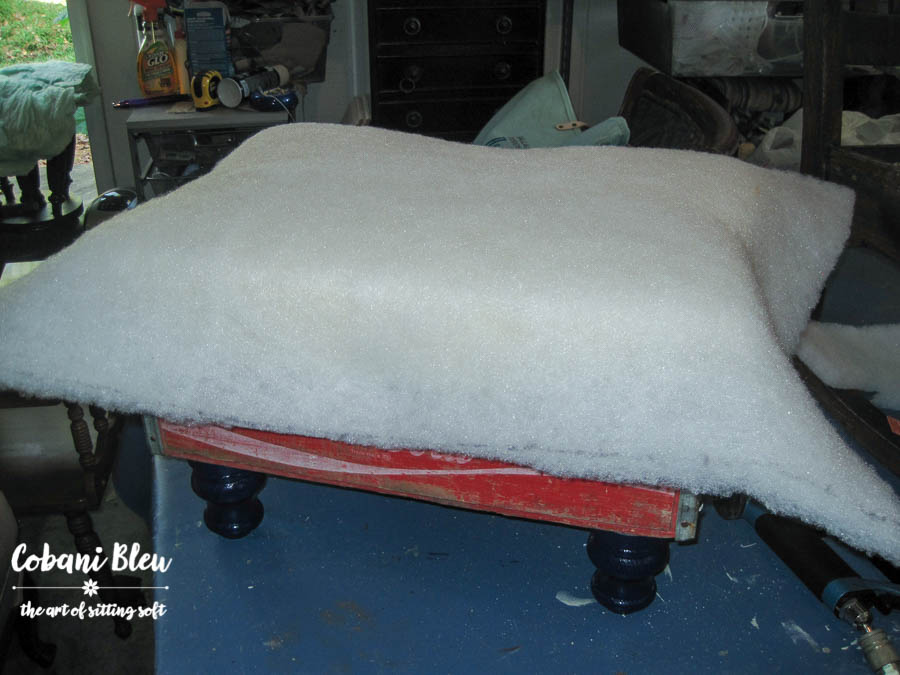
Now I add foam rubber. I buy foam in large sheets, as it is more cost effective. My trusty electric knife makes it so easy to cut the foam to the perfect size. I got this knife at a consignment store, brand new in the box!!
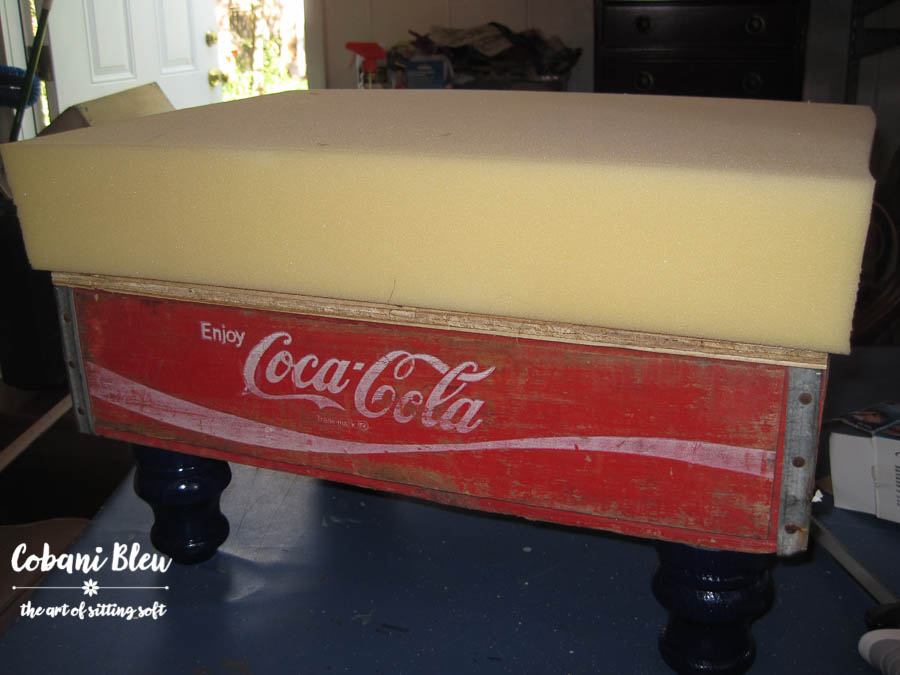
From the picture, you can see that I cut the foam slightly larger than the crate. I think this creates a nice full cushion for the top of the stool. The foam is attached to the top plywood using a pneumatic staple gun. You have the grab the bottom edge of the foam with the gun and staple it to the plywood, sometimes actually shooting into the side of the plywood.
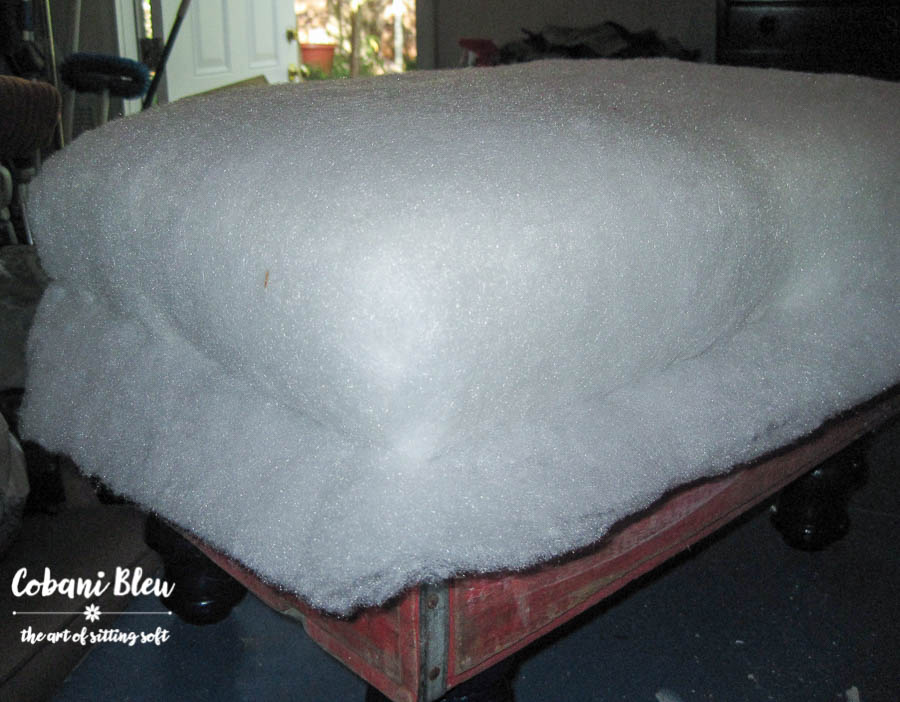
Next I cover the foam with batting. The batting is used to help shape the foam edges, making the cushion more rounded. This is done by pulling the batting securely and stapling. Be sure to use a large enough piece of batting that allows you to pull and shape the foam. Start by tacking the foam in the center front, back then on each side, then work out from the center of each side to the end. The ends should be neatly folded and stapled as if you were wrapping a package. Once you have completely stapled it on all sides, you need to trim the excess batting. Be sure to trim this very close to the plywood.
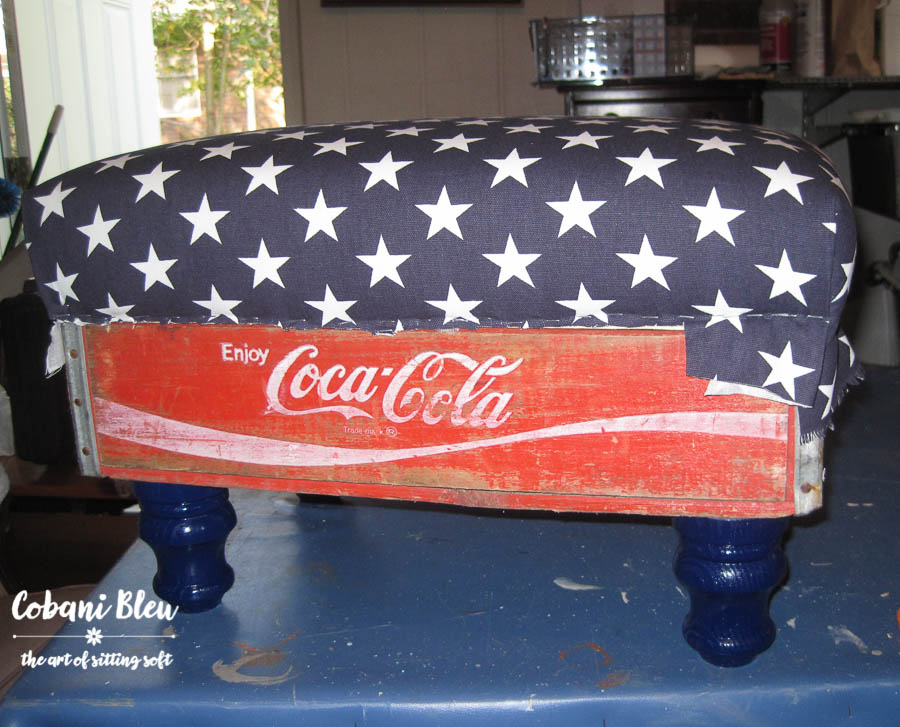
The fabric is applied exactly like the batting. But be sure to line up or adjust the pattern so that the end result is neat. So again, make one or two staples in the fabric to the front center plywood, then do the same on the back center, then the two sides. Now that the fabric is tacked in place on all four sides you and can finish each side. Be sure to always work from the center out, pulling the fabric taut and smoothing as you go. This will give you a smooth finished product. Trim off the excess fabric close to the plywood.
The final step is to add some trim to hide any staples that may be showing. I just hot glue the trim on.
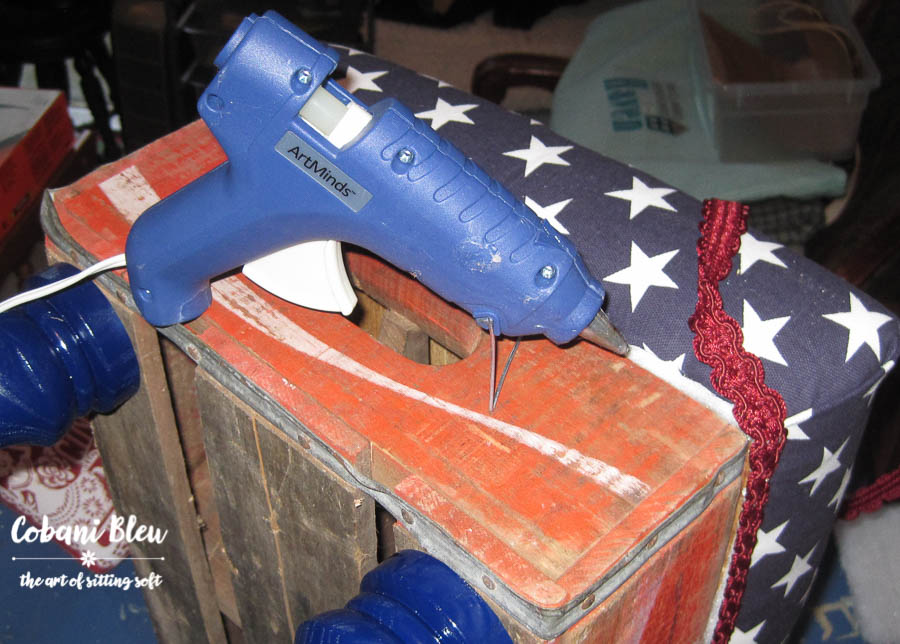
And viola! It’s done!
Once you have mastered this upcycled project you can translate it to any box shape. I have made stools from wine crates, apple crates, and even a drawer. Check them out in this post. Hope you enjoyed this project. Let me know what you think!


So cute! Love the fabric you chose and that you did blue legs.
🙂 gwingal
Hey Nikki,
I started to do some red fabric and it just didn’t look right, then I spotted this blue and white star fabric!! Light-bulb moment!! Haha!!
I absolutely love this! Is it for sale? If so, how much? Thank you 🇺🇸
Hi Sue, This one is sold, but I can make one for you. They are $125. I can make like this or customize with different fabric etc. Let me know if you’d like one! Thanks Nancy
Perfect timing… I’m going to be doing a round ottoman soon… would you recommend cutting the foam for a round piece a bit larger, as well?
Hey Julie, If you want the top cushion to be a little more puffy than the base, yes, cut the foam 1/4 inch larger all around. By the time you add batting to shape, you’ll have a nicely shaped ottoman. If you prefer a clean, more modern profile, cut the foam the same size as the base. You would still use some batting to help shape and secure the foam to the base. Rounded edges vs more clean edges depend on how tightly you apply/staple the batting. Hope this makes sense. Can’t wait to see your finished ottoman!!!
This idea is so pretty. Love how it was upcycled into a stool and love the rustic vintagy appeal of it.
Thanks Mary, It’s one of my fav upcycle projects. Fun and easy, and it turned out really cute!
Thanks for posting this. Now I am ready to try it. Yours is beautiful!
Hey Nancy, It’s an easy project. I’d love to see yours when you get it finished!!
Such a cute project. I am a bit puzzled on the foam stapling to wood. Doesn’t look like any photo demonstrated that…. grabbing the bottom of the foam, do you pull over plywood or shoot down into bottom of foam to bottom of board? I’d expect puckering?
Hi Cynthia, I am so glad you stopped by. Sorry I didn’t include a picture of stapling the foam to the plywood. I cut the foam just a tad larger than the plywood. This allows me to push the foam down on to the edge of the plywood and staple it. It does cause a little bit of puckering but once you add the Dacron, any puckering is covered up. I have a friend that describes Dacron as the Spanx of the upholstery world. It really does shape and smooth everything out. LOL!!!
Alternatively, you could use some spray adhesive to secure the foam to the plywood. You just don’t want the foam to shift around. Once covered with Dacron and fabric, it shouldn’t be a problem but glueing or stapling just add extra security and helps hold the foam in position while you add the Dacron and fabric.
Hope this helps explain things a little better. If you make a crate stool ottoman, be sure to share a picture with me. I’d love to see it.
Thanks
Nancy
Absolutely LOVE this! I’m going to copy you as closely as possible! Already purchases my Coke crate. Thank you for sharing!!!!! I’m creating an Americana room; this will such a great addition.
Hi Eleanor, This makes me so happy! Seriously please send me a picture when you finish, I’d love to share it on social media showing what someone did following my instructions. You can send it to my email, nancy@cobanibleu.com. And if you have any questions, please don’t hesitate to reach out! I’d love to see your Americana room too! Thanks much Nancy