What Happens In Upholstery Class…
Are you thinking about taking an upholstery class with me? But your just not sure what to expect.
Well come on in and let’s take a peek around and see what happens in one of my hands-on classes!
Arrival
When you arrive, I’ll meet you in the driveway to help you get your project and fabric inside. We have a few minutes to meet each other and you can get settled in. There’s a refrigerator if you want to store lunch or a beverage. And a microwave for heating up lunch too!
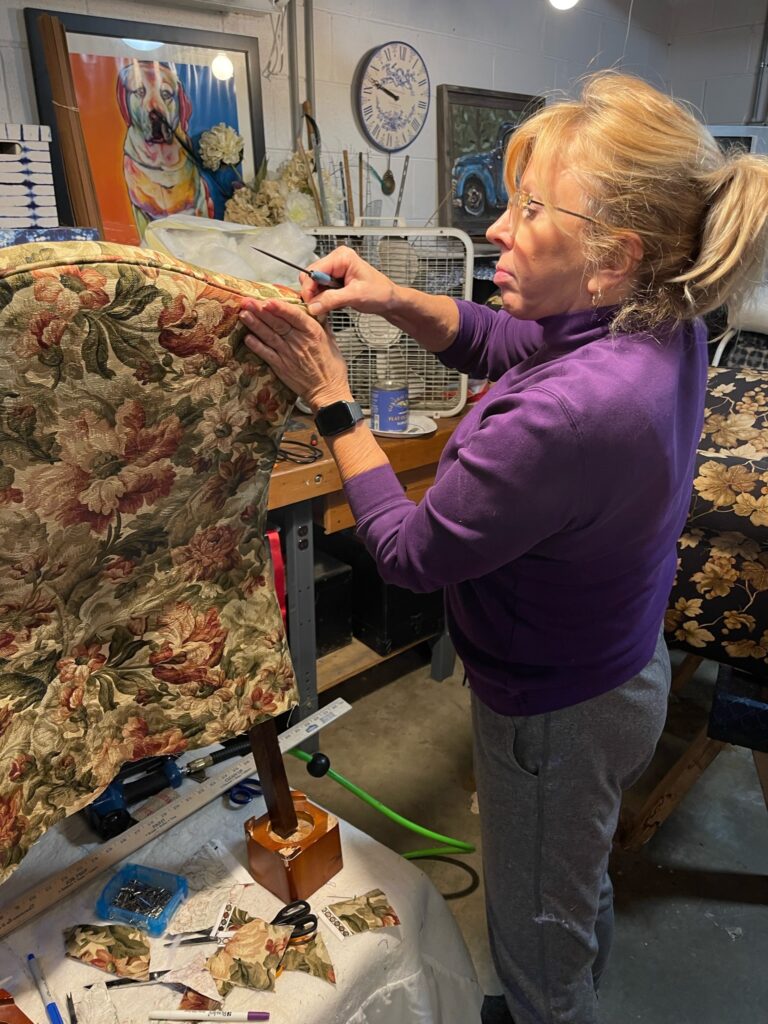
We’ll look at your project and probably your fabrics too. I mean that is the best part right? We’ll get down to business pretty quickly as we have full day ahead of us!
Tearing Down Your Chair or Ottoman
In my classes, if your a beginner, we will work together to strip your chair or ottoman. I want you to learn to do this job as efficiently as possible. This means using the right tools and learning how to use them for efficiency and safety. It also means learning a few tricks to make things go faster.
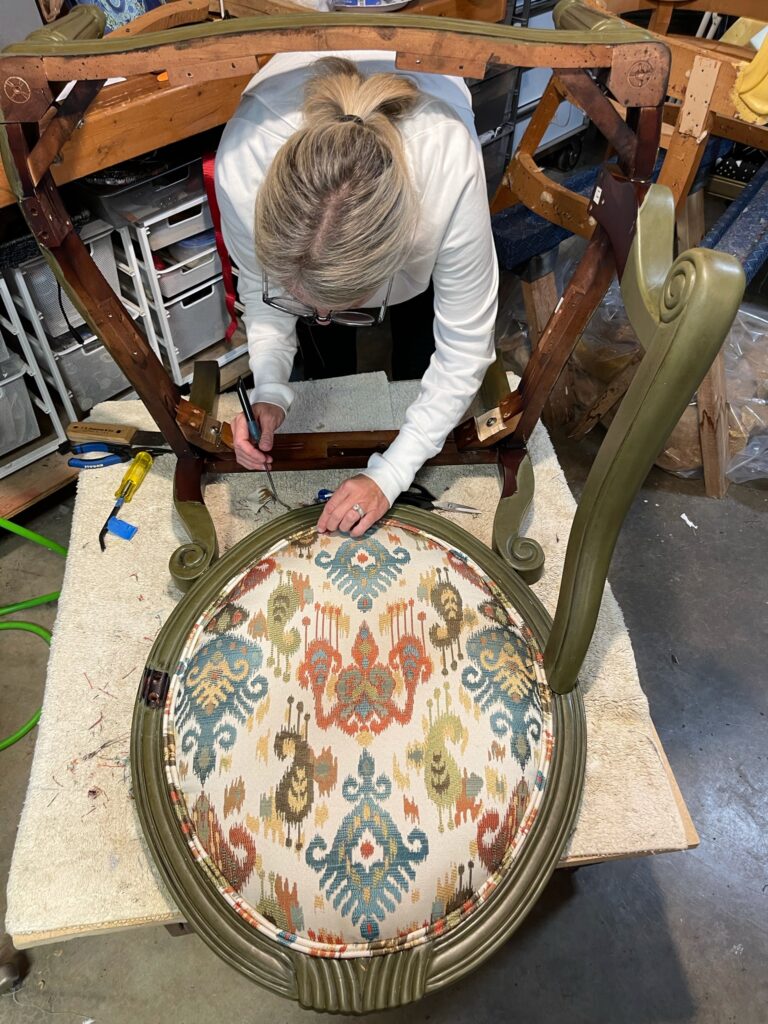
Tear down is not the most fun, so let make the best of it. While we’re tearing down, we will chat! We get to know each other. We talk about kids and dogs and family and jobs and our love of furniture, diying, fabrics. It’s all good. I’ve found common connections with every single one of my students. It seems no matter how diverse each of our journey’s have been, the path to upholstery has some common threads. That is one of my favorite things about teaching, getting to know each and everyone of you.
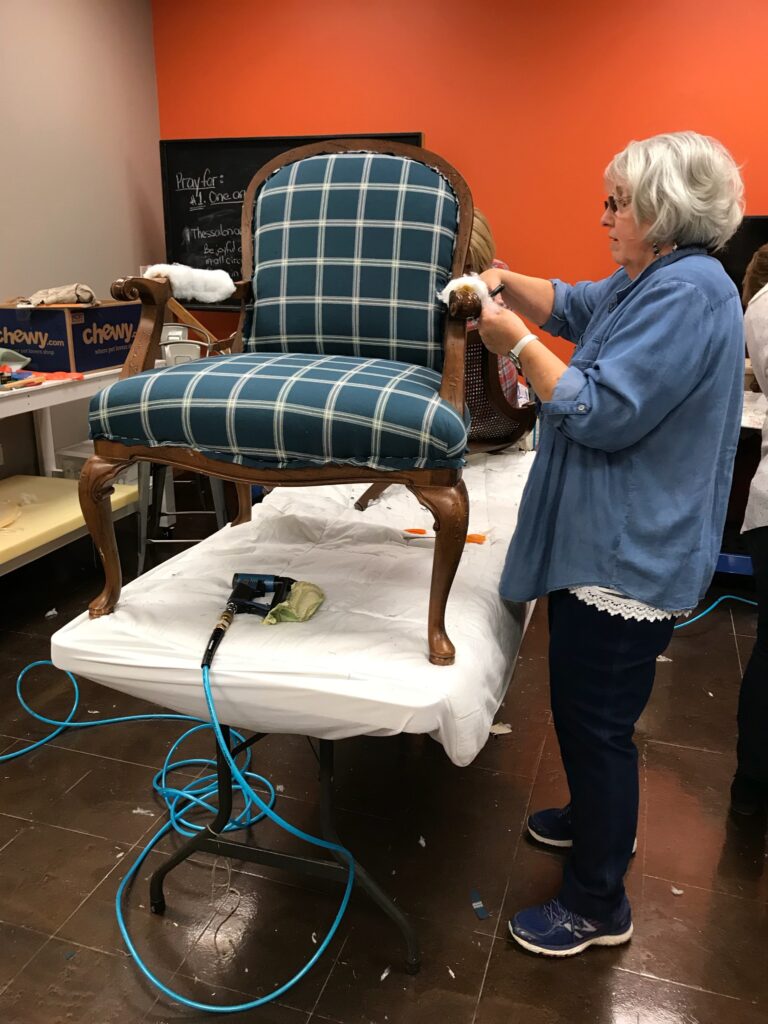
While chit chatting we will also talk about upholstery. We will talk thru a plan for your project so you’ll have an idea of what to expect.
The Foundation
Once stripped, will take a good look at your chair or ottoman. What shape is the foundation in? Do we need to reweb, add foam or cotton? For each step of the way, we talk about the supplies, are there more than one option, where can you source it. What tools do we need? Where can you find the tools?
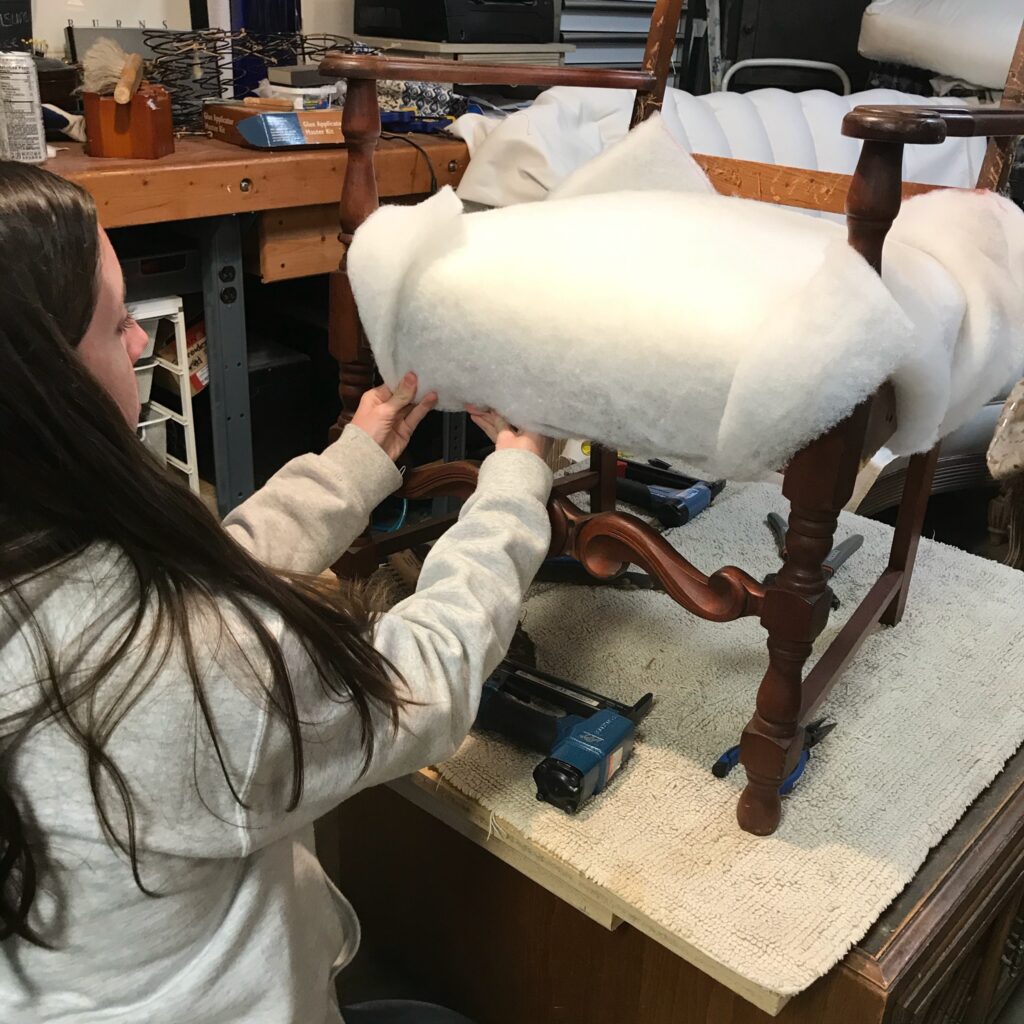
I will always demonstrate what we are doing and then let you have a go at it.
We always start with the foundation. That needs to be in good shape. Your furniture will not be sit soft ready without a good foundation. We don’t skimp on that. If your foundation is go to go, we will apply a fresh layer of Dacron. So that may be the first step to upholstery for your project.
The Fabric
Before we ever put fabric on your furniture we have a good discussion about fabric. We talk about:
- The direction of the fabric and how it should flow on the furniture.
- Nap of Fabric
- What does railroading mean?
- What is a pattern repeat?
- How to measure how much fabric you need?
- How to mark your fabric and marking options to use?
- Measuring tools
- Scissors and cutting options
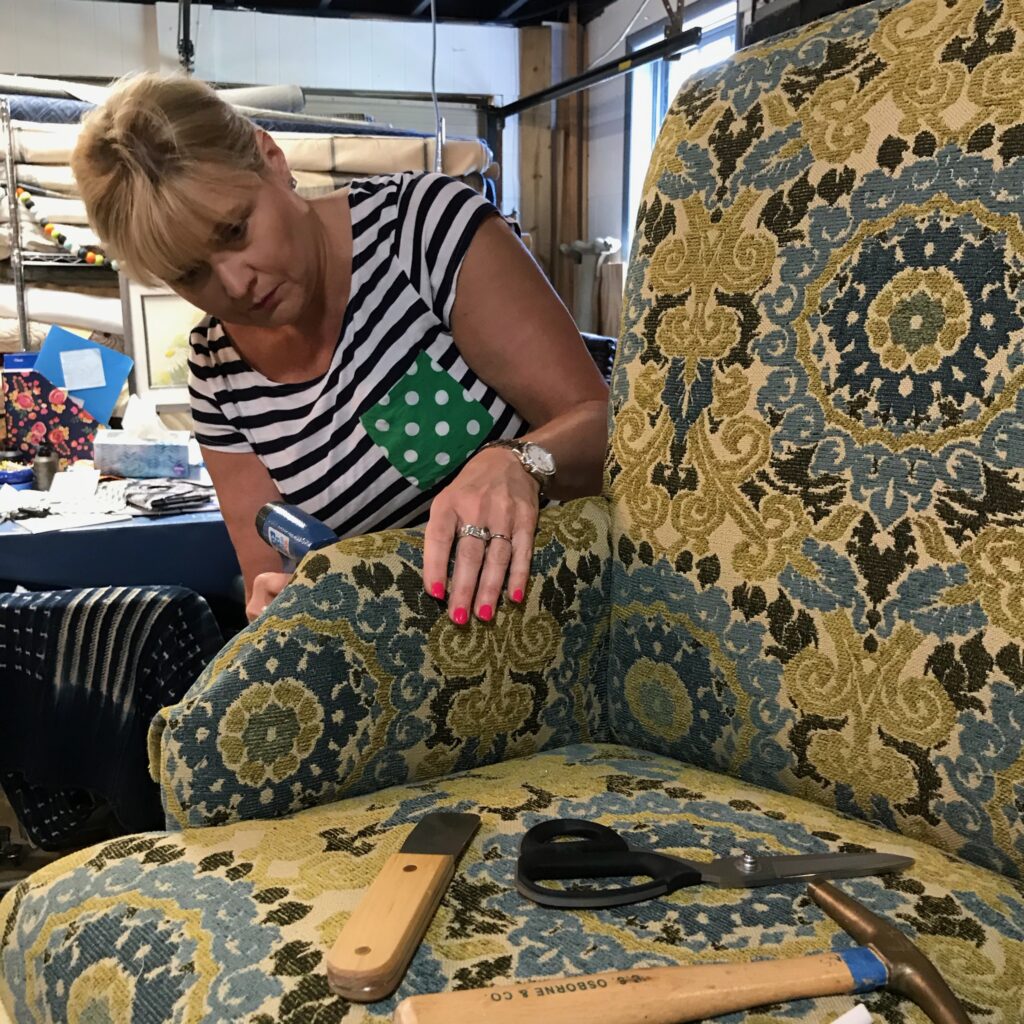
Once we are ready to start, we’ll talk about pattern placement. If appropriate, we’ll walk thru the process of pattern matching. I also have tips on how to get your fabric aligned easier.
Time to Staple
Ok, we are finally on to the upholstery part. But it’s probably past lunch time so we break for lunch. You may have opted to bring your lunch or maybe you’d like to get out, get some fresh air and take a breather. I’ve probably given you way too much information so a break is very refreshing.
Before we begin stapling, we talk about staplers, including my favorites, and options for good reasonably priced tools. We also talk about air compressors.
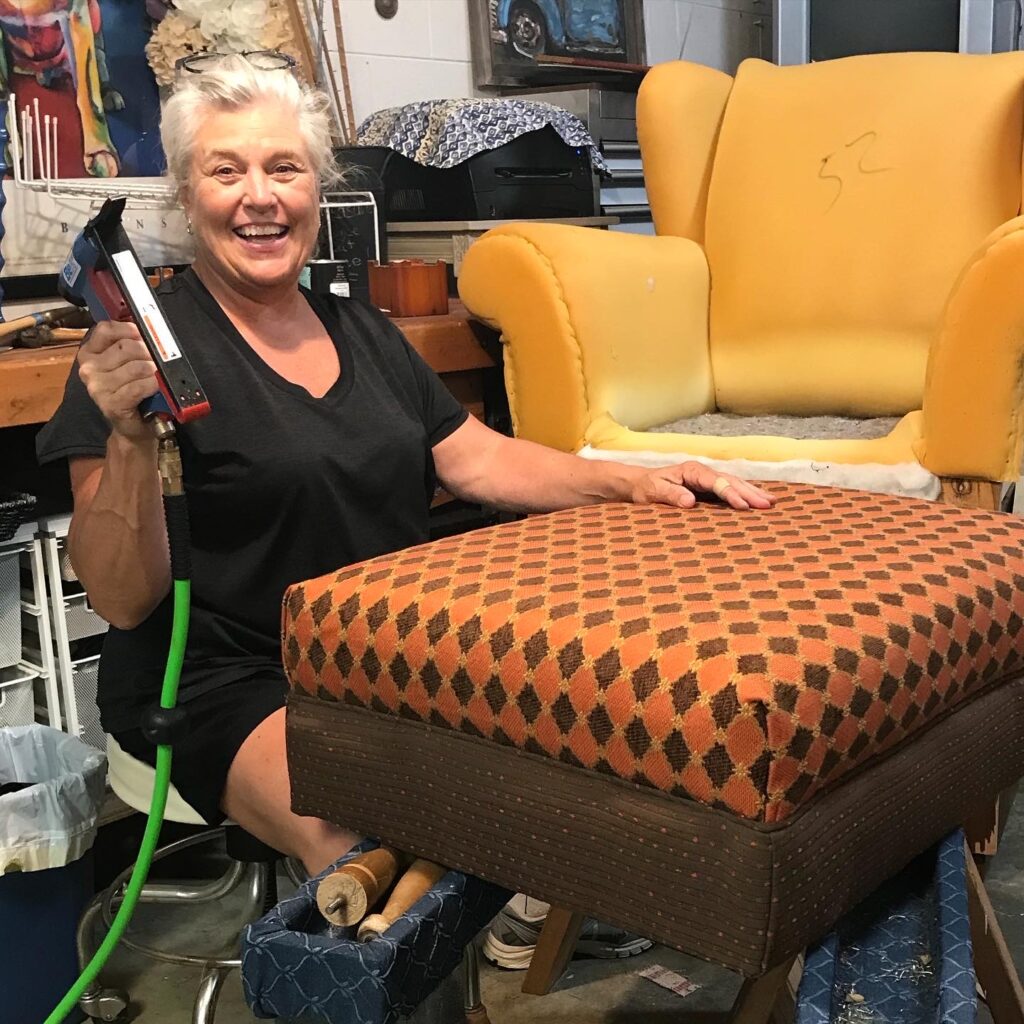
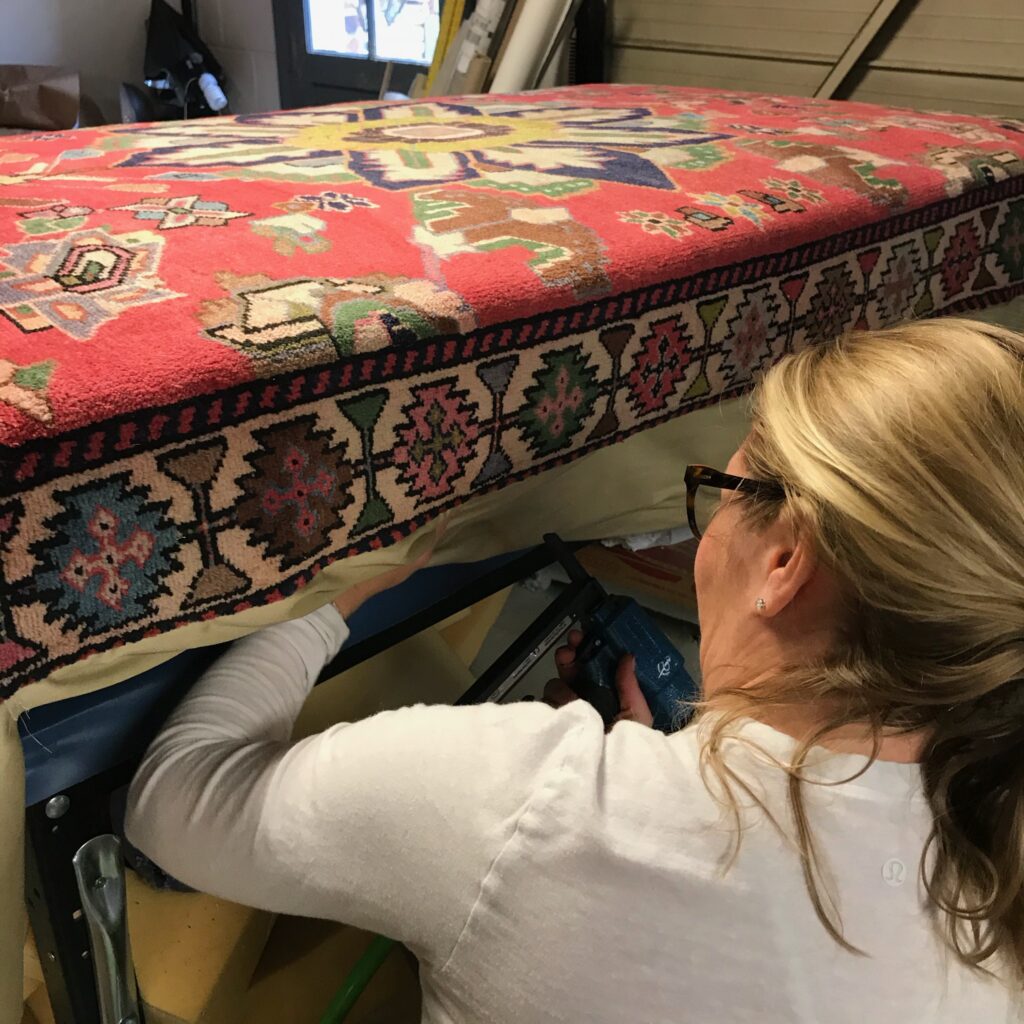
Next I want you to practice stapling into a scrap piece of wood so you can get the feel of using a pneumatic staple gun. This usually doesn’t take anyone long to feel comfortable with it.
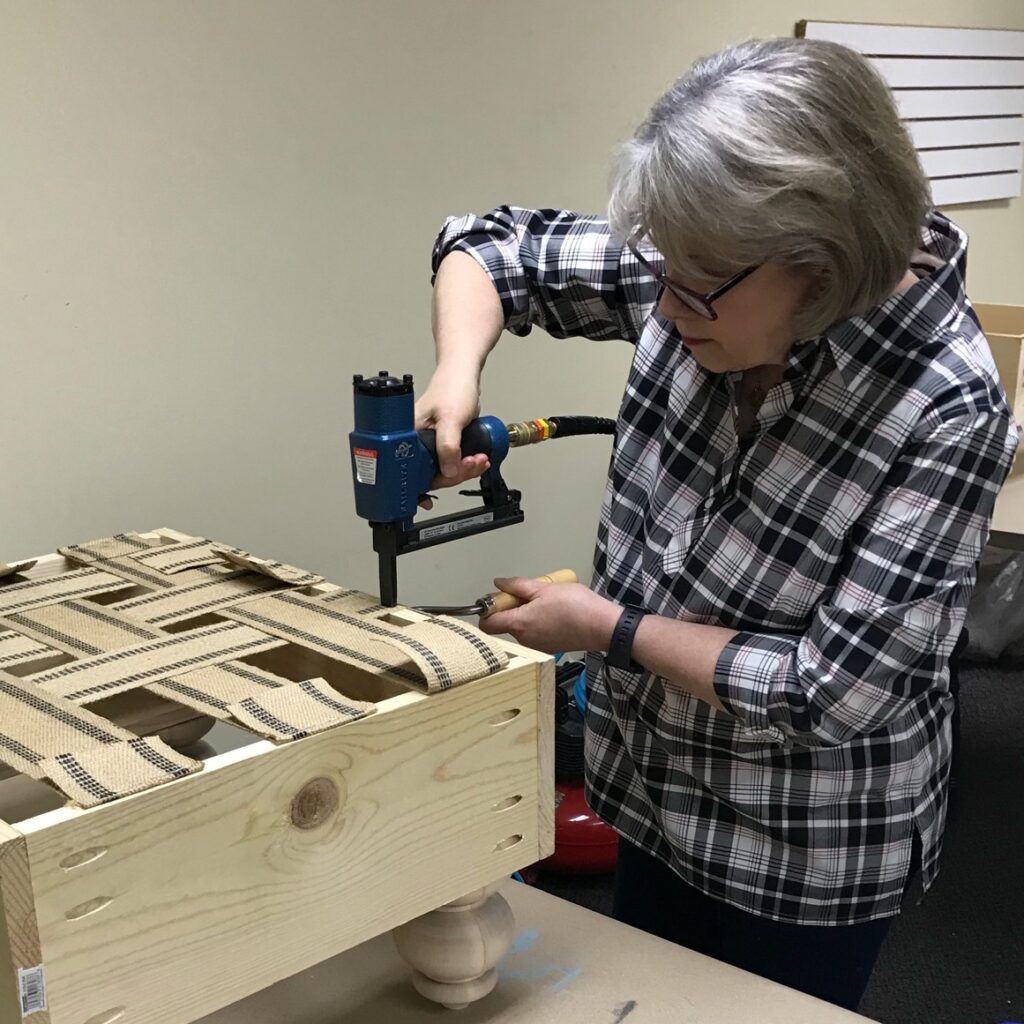
You’ll first tack your fabric in place, then learn how to maintain even tension on the fabric as you staple. This is one of the most important things to learn and what will distinguish your project from the amateur upholsterer!
So What Else Happens?
That largely depends on your project. Do you need to sew single or double welt cord? Then you’ll learn all about my walking foot sewing machine. You’ll practice on some scrap fabric first, then we’ll make your welt cording. We’ll talk about sewing machine options as most beginners are not ready to invest in an industrial machine. There are even options for upholstery that includes no sewing!
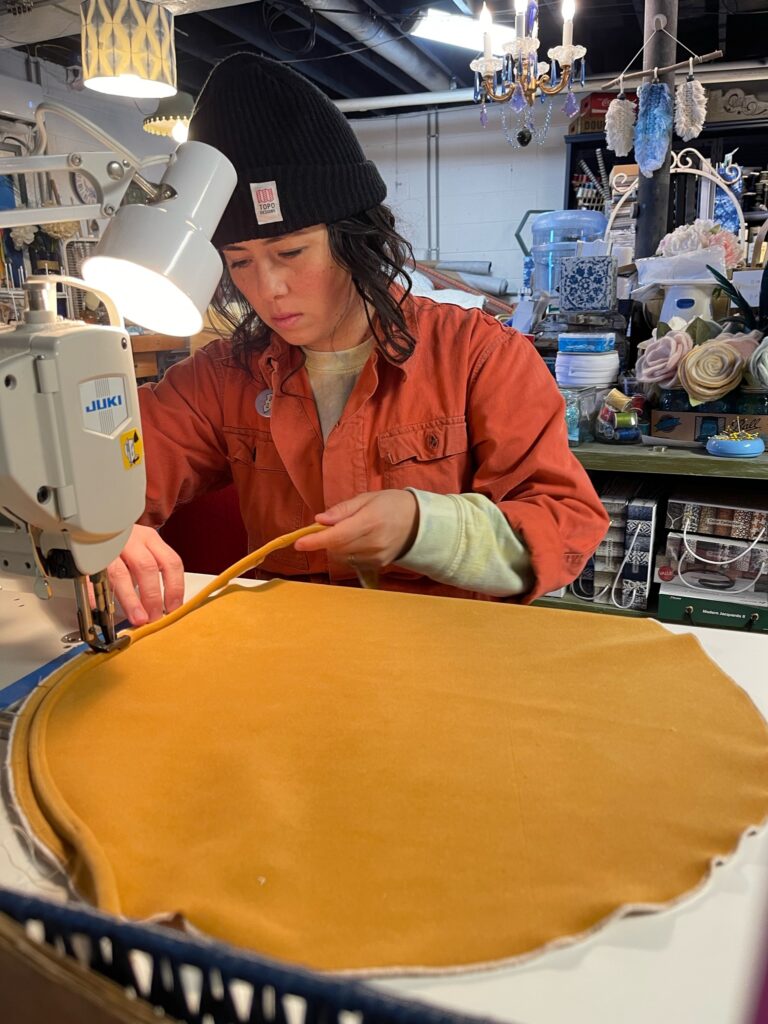
Your project may require you to learn about:
- Ply-grip or Curve Ease
- How to use a tack strip
- Make nice and neat corners
- Make easement cuts with ease
- How to apply trim or double welt cord
- How to join single and double welt cord
 At the end of your class, you’ll leave with a very full brain, but I provide a lot of resources for you to refer to after class, including an open invitation from me to ask questions. And of course the option to always come back for more classes. Most importantly, you leave with a completed project, a sense of accomplishment, a whole lot of pride, and hopefully a new friend in me!


