Top 5 Upholstery Hand Tools for the Beginner
What are the best upholstery hand tools a beginner should invest in? Here’s my list!

Now you can ask any upholsterer this same question and you may get some different answers, but I’m willing to bet most will agree that these tools cover the basics. They may prefer a different version of the tool, but tools with these functionalities are a good place to start. So let’s get started!
This post contains affiliate links. This means I may make a small commission if you purchase through these links. For more information, please see my Disclosures here.
Tools For Stripping
The first two tools make the process of stripping furniture much easier, but are actually used through out the upholstery process. They are the staple lifter and the a needle nose plier.
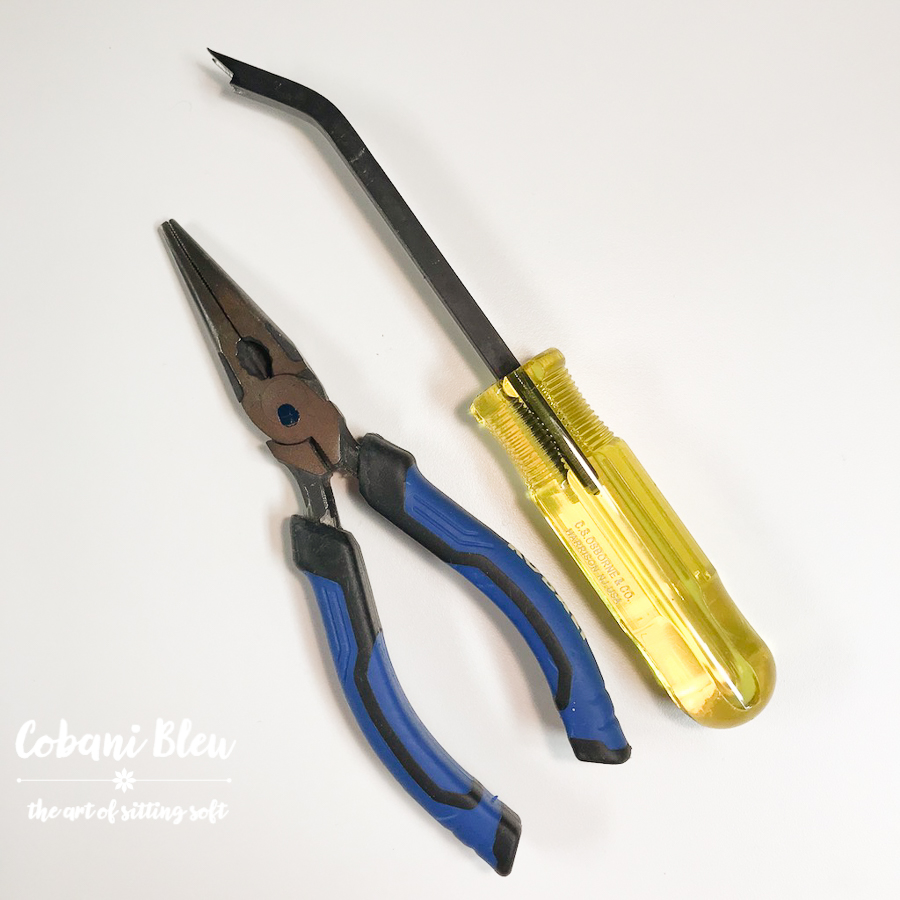
The Osborne 120 1/2 stapler lifter will cost you around $24 on Amazon. It is a tool that is found most often in upholstery workshops because it works. Its strong and has a nice angle at the end for good leverage to pop those staples out. This is a serious upgrade to a flathead screwdriver that many diyers start out with. But one word of caution: Those pointy ends are sharp and can cause serious injury if not used correctly. But then, so can a screwdriver. What’s the right way to use it? With the sharp end ALWAYS pointing away from you. Sounds simple and very logical. But its surprising how often you may find yourself trying to get a staple out, and those pointy ends are staring right at you. Also know that most upholsterers have jabbed themselves with these and have lived to tell about it! There are other types of staple lifters and really its a matter of preference. This one is my favorite.

The second tool is a needle nose pliers. Nothing fancy, this is not a specialty upholstery tool. Just whatever you have in your tool box or get at a local hardware store. Some do prefer side cutters to a pliers. Again this is personal preference and I like pliers. The pliers are used to pull out the staples that you have lifted loose with the lifter but maybe didn’t come all the way out. Or when the staples break! Ya, that happens. A lot, sometimes.
Webbing Stretcher
The next tool is the webbing stretcher.
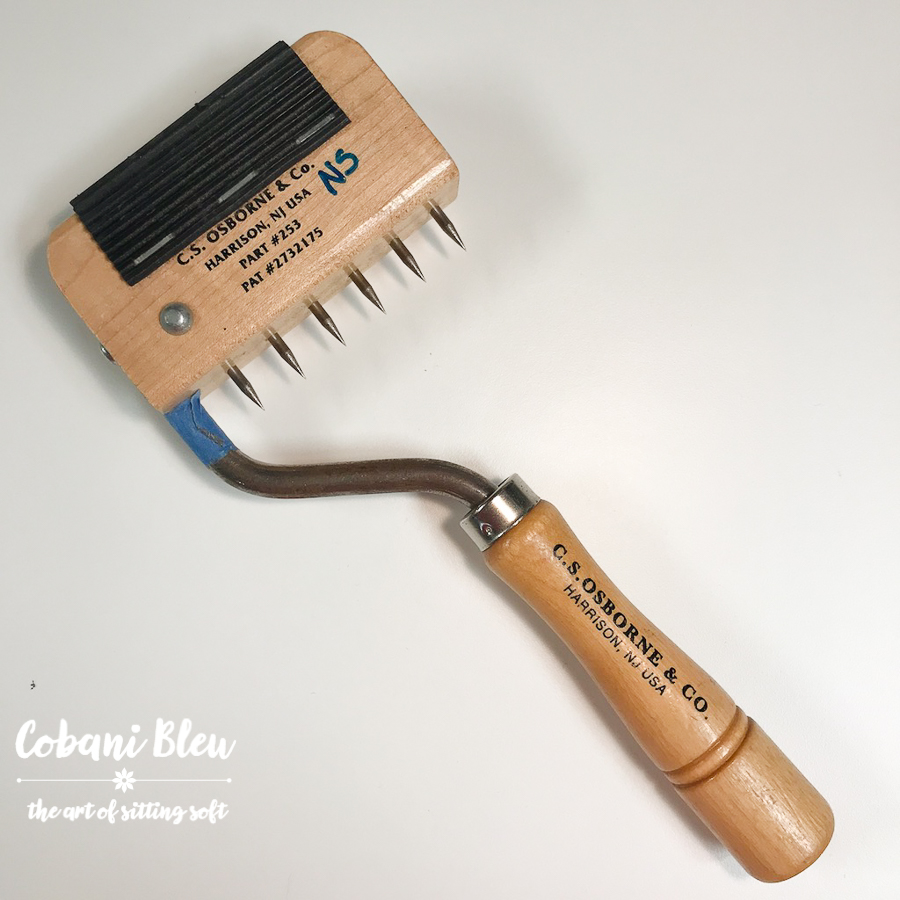
There are a couple of versions of it, but it this is the only one I’ve used. It’s only purpose is to stretch webbing. You may ask why would you want or need to do this? Webbing is an integral part of the foundation of your furniture. This is not where you want to skimp on quality. Properly stretched webbing will almost sound like a drum, nice and tight. You can’t get this level of tightness stretching by hand.

Tightly stretched webbing is key to a solid foundation that adds decades to the comfort and longevity of your furniture. Although, this tool has only one purpose, it is a basic must have tool for any upholstery workshop.
Scissors
I’m going to give you a bonus here and share 2 pairs of scissors. What’s the big deal with scissors, you might ask? I’m sure you’ve heard all the jokes about using fabric scissors for anything other than fabric.
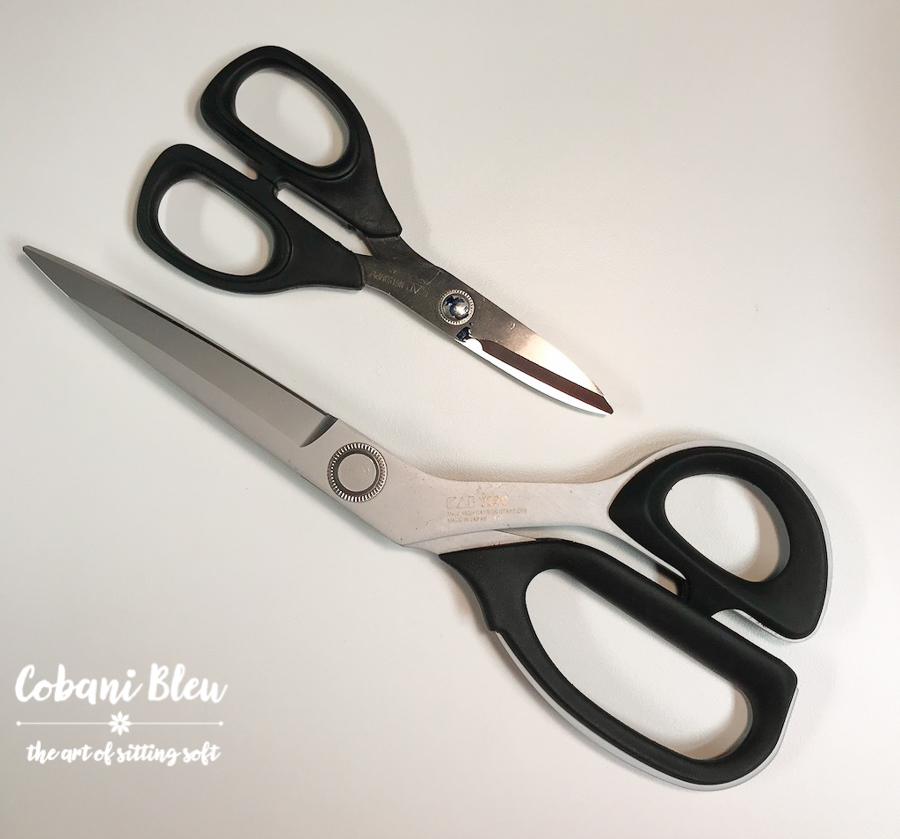
Well the truth is, good sharp scissors are important when cutting fabric. You want a crisp clean cut when you cut your fabric. Ragged edges can lead to excessive fraying. If you have a lot of fabric to cut or thicker weight fabrics, you are going to appreciate scissors that will guide through fabric. It will be much easier on you hands as well. So what do you look for in a good scissors? A long cutting edge means fewer cuts, again this saves your hands. You want well balanced scissor that are comfortable to hold. You want a blade edge that can be sharpened and will hold a sharp edge. All metals are not equal when it comes to staying sharp and hold a sharp edge. I’ve used several good quality scissors, but my absolute favorite brand is Kai. I have the Kai model #7250. Its perfect for my hand size and it cuts like butter. This particular pair of scissors is an investment at around $50+. If your just starting out, you may not want to invest this much money, but get a decent pair of sheers. You can always treat yourself to an upgrade down the road. Wiss, Mundial, and Gingher are all good quality scissors.
The bonus scissors is the Kai 5150. These are small, short scissors. They have a micro-serrated edge that is terrific for cutting through thick layers at the tip of the scissors. Think about the times you have to trim multiple layers of fabric in a tight spot.
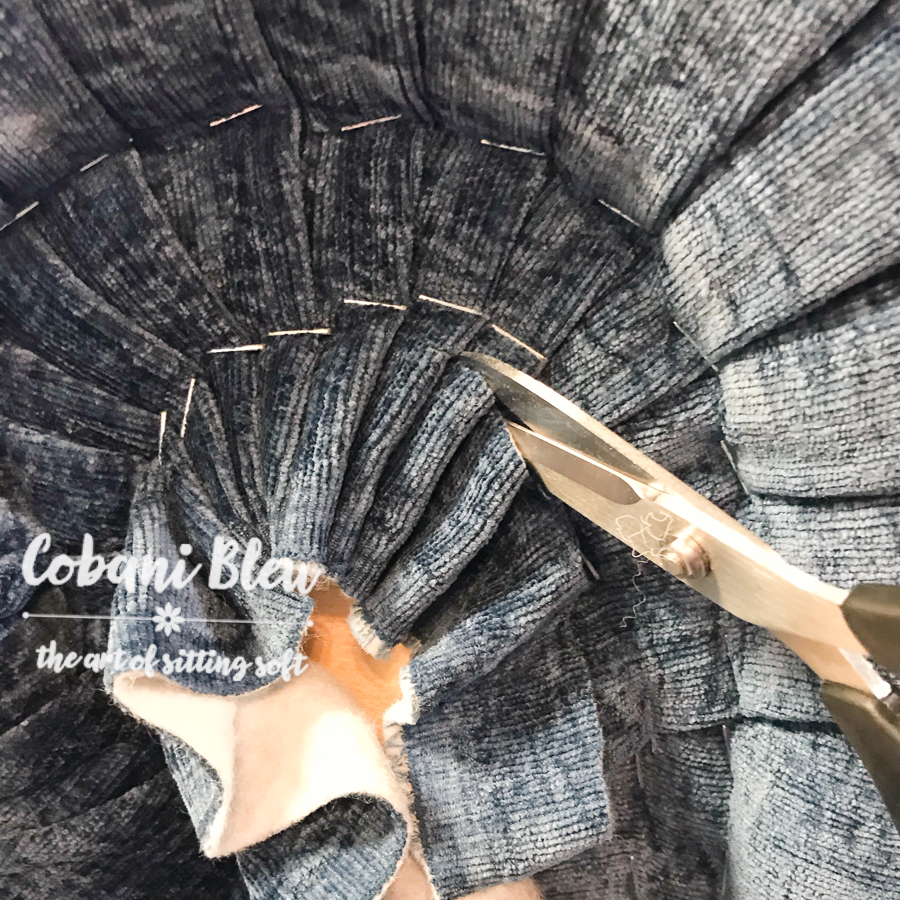
You don’t have the space to get the leverage you need with a longer pair of scissors. These little scissors will do the trick for you. They are also fabulous for cutting through welt cord in a tight space. I keep a pair by my sewing machine to make cuts when sewing around curves, especially when you have multiple layers of fabric like when you are sewing a cushion together.
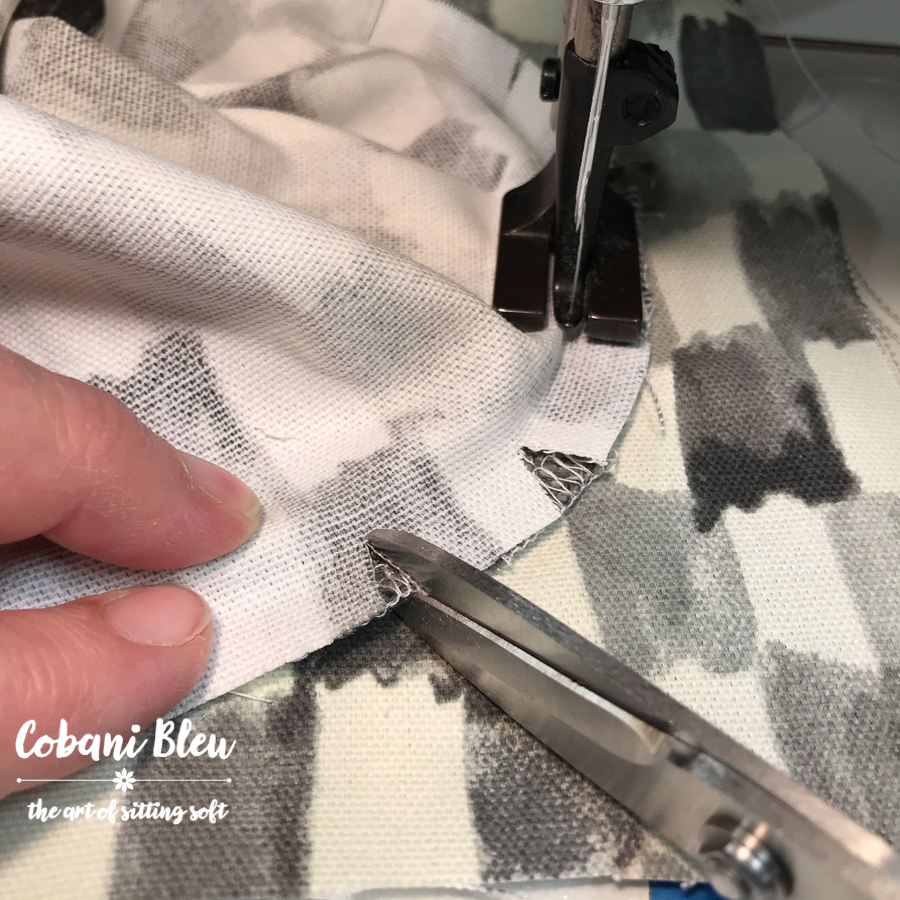
These scissors under $25 and well worth the investment. I would love to have multiple pairs because I use them so often, one at the sewing machine and one at the upholstery work station.
Tucking Tool
For the 5th tool, I could have gone with several different tools. Like a regulator, so handy for so many things, or a magnetic tack hammer, which I use a lot. (Maybe I should write a hand tools part 2?) But I chose the Osborne Tucking Tool. Mainly because I find this tool so useful and I think its under appreciated so I wanted to give it some love.

I’m not even sure of the original purpose of this tool. Some say its used in auto upholstery for tucking in headliner. But I have found many uses for this hand tool, mainly for saving my knuckles from getting scraped. In upholstery, you often have really narrow spaces between the furniture rails in the back and seat areas of furniture. There are multiple layers that need to get tucked between these rails, primarily Dacron and fabric, but occasionally webbing and burlap too. Factor in broken staples that you can’t pull out or access to tap down, wood splinters and even the sharpe edges of wood and I can tell you that my knuckles have taken a beating on these rails. In many cases, there is not enough room to get your hand between the rails to work the material through. This tucking tool works perfect. It’s very sturdy and smooth and has a slight bend in it to help you work around the rails.
Another great use for this tool is when I work on channel back chairs. There is always some finagling to get the channels stuffed just right especially at the bottom when the channels have to slide through bottom rails. I actually stuff bits of cotton into the bottom of the channels from the back and through the rails. It works pretty good. You can even use the flatness of it to help wiggle the cotton about and smooth it out, getting nicely filled and smooth channels.
I’ve used this tool to help me get nice crips folds and tucks when I need a pleat. And one more tip, I use this tool to help me mark easement cuts. Really any flat thin item like a ruler, scissors or regulator works for this, but I usually have this tool handy so its what I reach for. I slide the tucking tool under the fabric, through the rails and position it where I need to mark for the cut. Now from the top, I can feel the exact spot and mark it. The technique really helps to avoid bad easement cuts.
So that’s my round up of the tools that I would highly recommend for someone starting out in upholstery. Of course there is always a new tool or gadget, they’re kind of addicting. Haha! And we haven’t even discussed staplers and air compressors yet! Read all about them in my post, What’s The Best Stapler For Upholstery.




Hello Nancy!
I read somewhere that we should have a separate pair of shears just for the burlap webbing, sagless burlap and other non-fabric related necessities, as these tend to dull shears in no time. Do you have a suggestion for this type of shear?
Thanking you in advance.
Stay well, and much appreciation for the upholstery tips!
Hey Beatrice, I do have a couple of pair of less expensive scissors that I use for cutting things besides fabric. They happen to be Fiskars brand and the orange handles make them super easy to recognize as my junk scissors. I cut everything with them, Dacron, burlap even thru nylon zippers. And the best part is they can be sharpened and are as good as new.
Thanks
Nancy