Build It Like a Pro: Top Tips for Crafting an Ottoman Frame
This post contains affiliate links which means I may make a small commission on purchases made through these links. For more information, please see my Disclosures here.
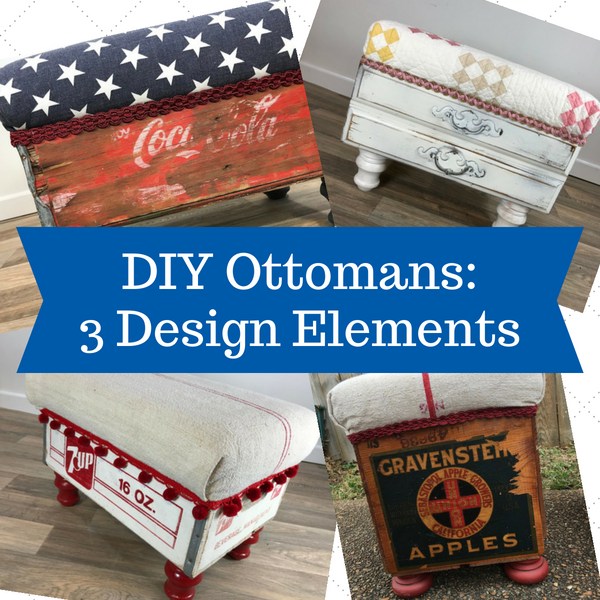
So, you want to build an ottoman from scratch?
I love that for you! Whether you’re a DIY enthusiast or dipping your toes into furniture building for the first time, creating your own ottoman frame is an incredibly rewarding (and surprisingly doable) project. With the right tools and materials—and a little bit of guidance—you can absolutely build a solid, stylish piece that looks and feels professionally made.
Here are my tried-and-true tips to help you build a beautiful, wobble-free ottoman frame you’ll be proud of.
Choose Hardwood for Strength and Stability
When it comes to ottoman frames, not all wood is created equal. I always go for hardwoods—they’re sturdier, more durable, and way less prone to warping compared to inexpensive softwoods like pine. Plus, the added weight gives your ottoman a higher-quality, substantial feel..
My go-to shopping spot? Lowe’s!
They stock great hardwood options in convenient 8-foot lengths, which makes it super easy to plan your cuts and calculate how many boards you’ll need. Bonus: those 8-foot boards fit perfectly in my car.
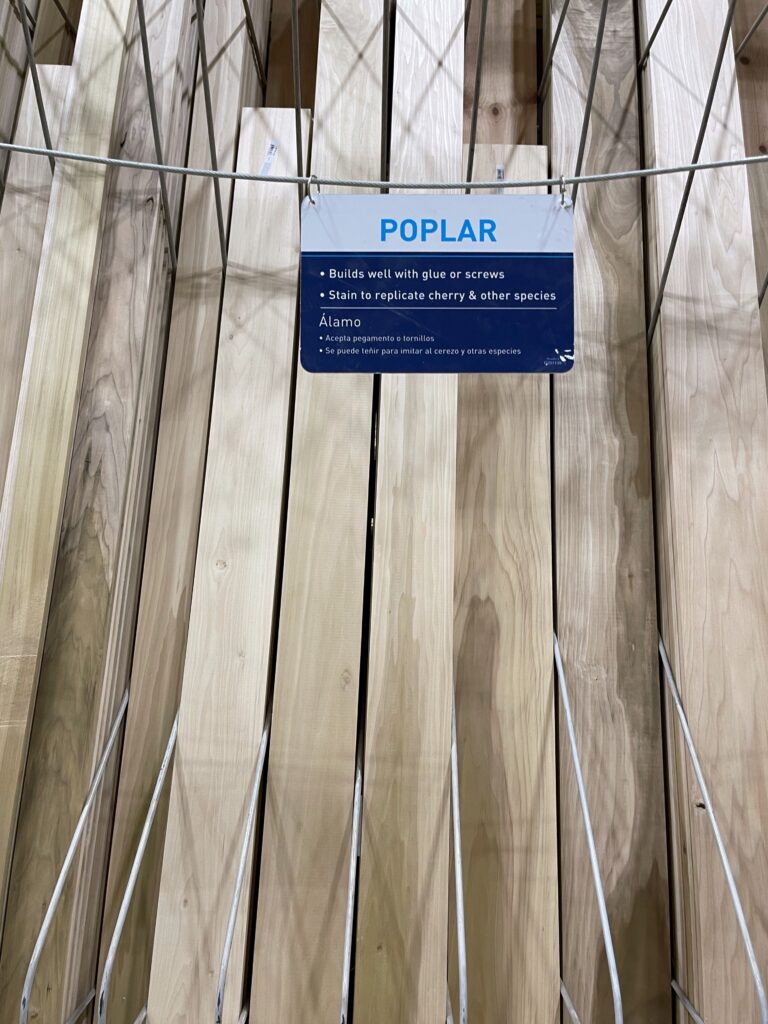
My favorite choice is Poplar. It available at local box box stores, including Lowe’s, for convenience and is a good price point for hardwood
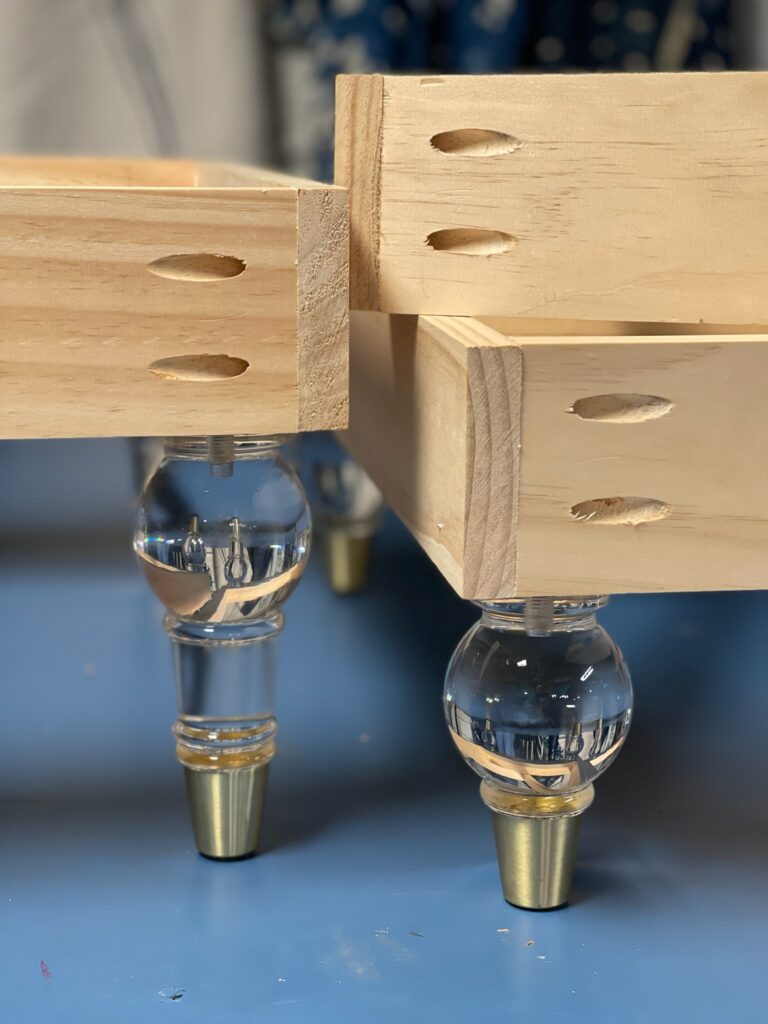
Use Pocket Hole Joinery for a Rock-Solid Frame
Enter: the magic of Kreg tools. If you’ve never used a pocket hole jig before, don’t worry—you’re in good hands. Kreg’s pocket hole joinery system is user-friendly, precise, and gives you one of the strongest joints out there. Once you try it, you’ll wonder how you ever built anything without it.
I’ve had my Kreg Jig K5 for several years now and I love it. I also have the 520 Pro. Every iteration of a Kreg jig means they’ve improved the functionality and or made it even easier to use.
Did I mention that I love💙 Kreg products?

All you need to do is follow the instructions (they really do make it foolproof), and you’ll be on your way to a clean, strong frame. The Kreg screws and jigs are designed to make your project come together seamlessly—and securely.
Don’t Skip the Corner Clamp—Trust Me
Here’s the real game-changer: the corner clamp. Well I call it a corner clamp, but technically it’s a 90 degree clamp. Kreg makes a fantastic one that holds your boards at a perfect 90-degree angle while you drive in your screws. This one little tool makes a huge difference. It ensures your frame stays square—and square means stable.
👍🏻 No wobbly ottomans allowed!
Convenient Supply Runs? Yes, Please!
Another reason I love using Kreg tools? Most Lowe’s stores have a fabulous Kreg tool section. Look for it in the Hardware/Tool department. They have a great selection of jigs, clamps and screws. So if you run out of screws or need an extra jig, chances are you can grab it the same day. No waiting around for an online order to ship.
✅ Convenience for the win! Oh yes!

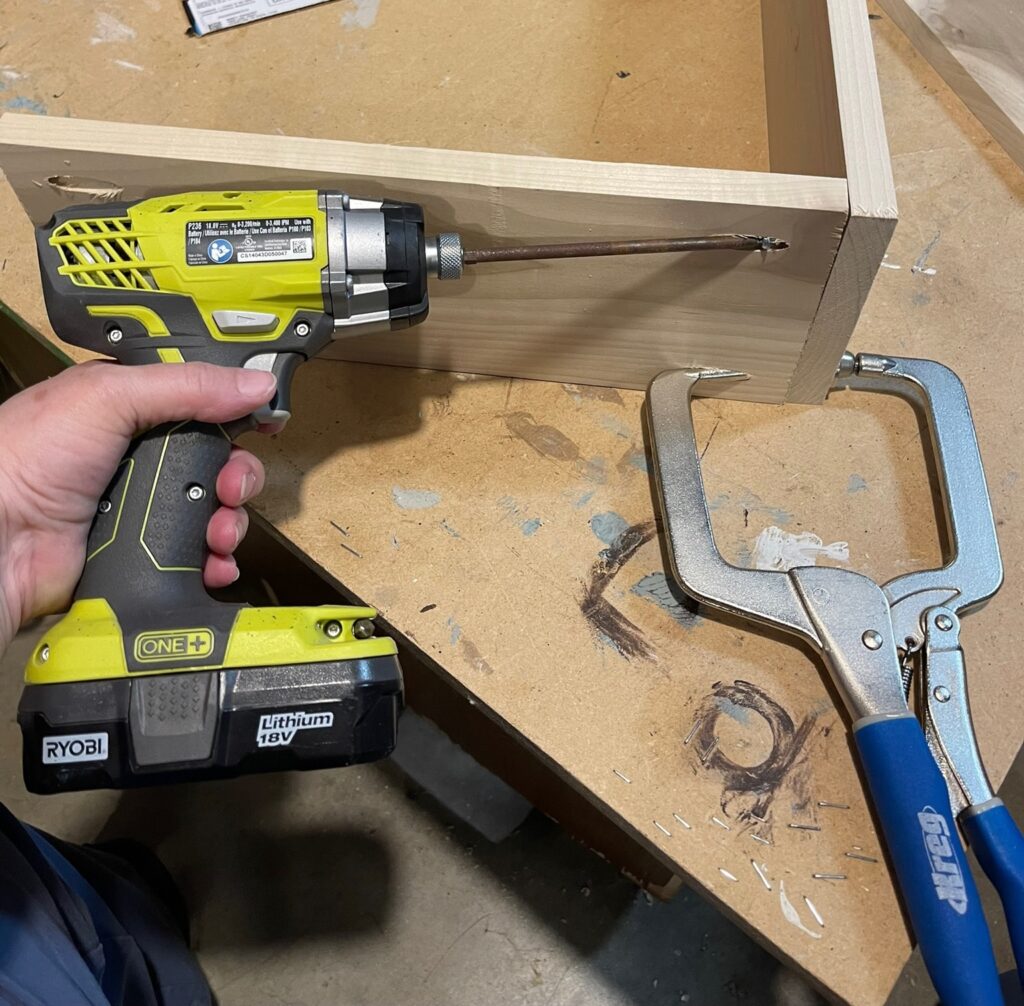
How to Attach the Feet (And Why It Matters)
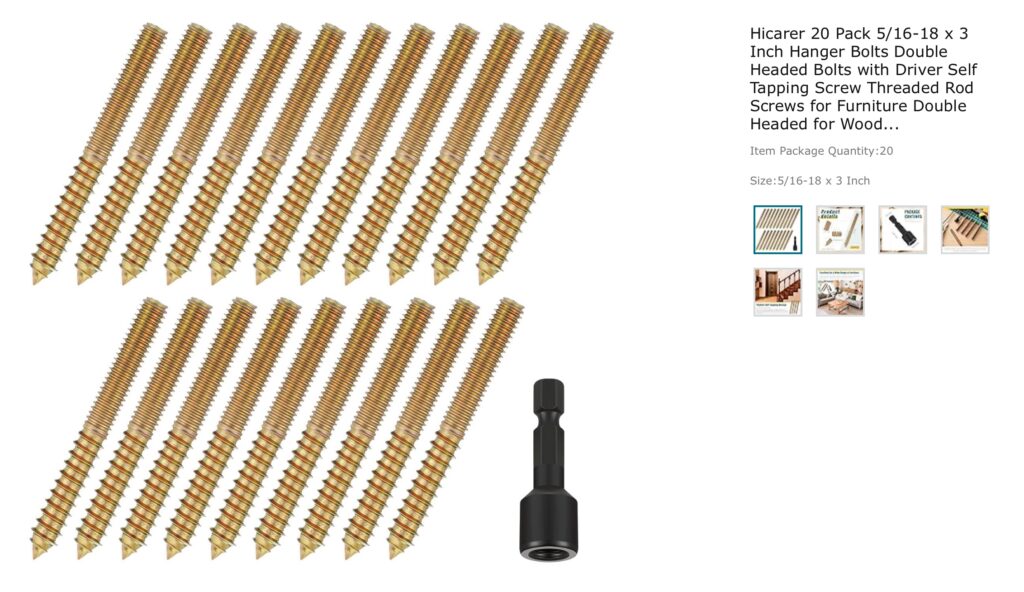
When it’s time to add the legs, I always use hanger bolts. These little guys are double-sided screws: one end goes into the wooden leg, and the other goes through the frame and is secured with a nut. It’s a super sturdy and reliable way to attach feet—these feet won’t break or fall off, trust me!
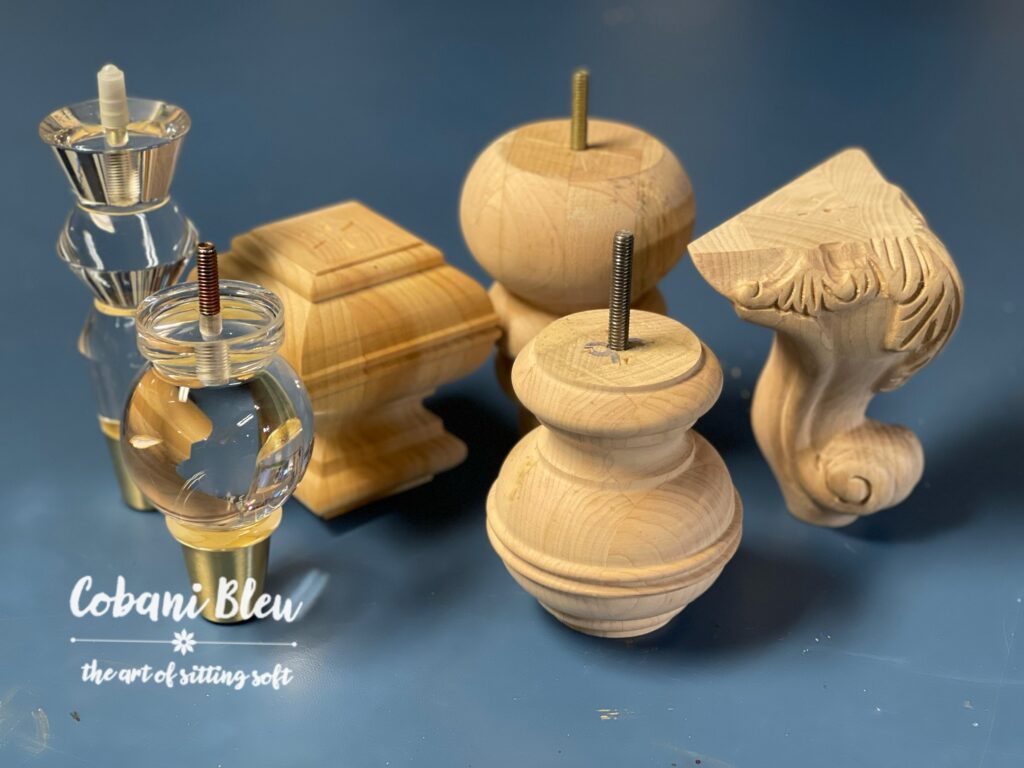
Let the Legs Set the Vibe
Now for the fun part: choosing your ottoman legs! The style of legs you pick can completely change the look of your finished piece.
Here are a few of my favorites:
Amazon has a great selection in lots of styles and great prices. I have a few other favorite shopping sources for legs. Sign up for my Freebie Library for downloadable lists of My Best Ottoman Tips and My Favorite Ottoman Feet.
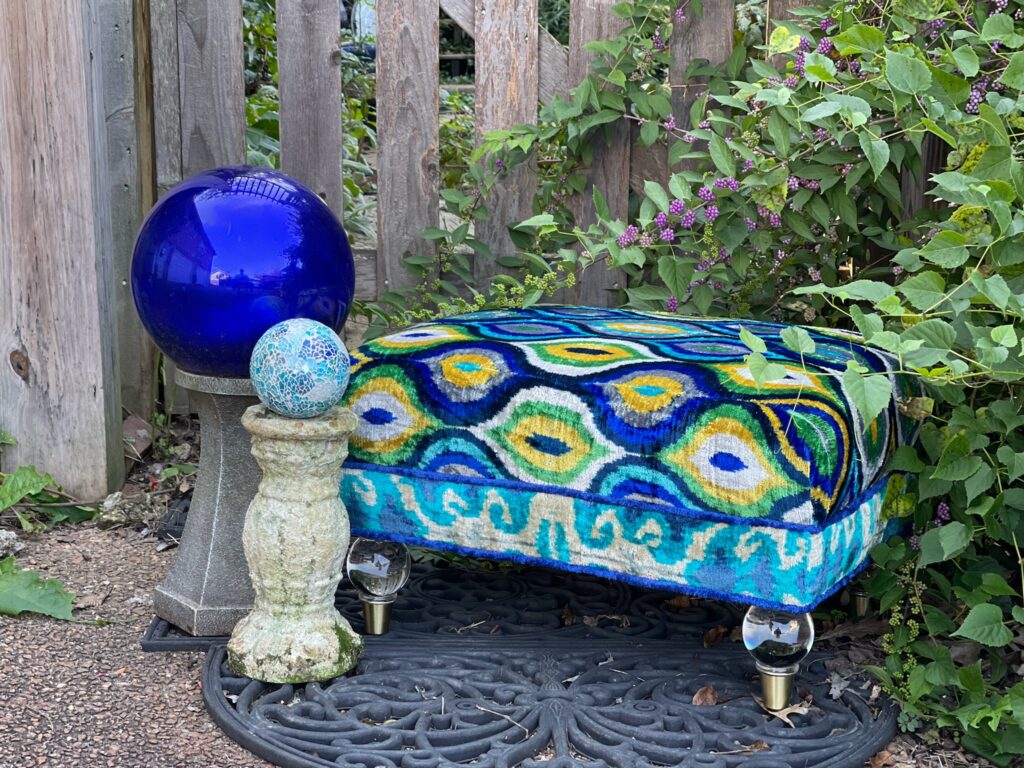
You Can Totally Do This
Building an ottoman frame is such a satisfying project. With quality materials, the right tools (I’m looking at you, Kreg corner clamp), and a little bit of patience, you’ll create something you can use, admire, and say:
“I built that.” How cool is that!
So go ahead—grab your wood, dust off that drill, and let’s build something beautiful!
Want to see how I upholster my ottomans after building the ottoman frame? Sign up for my newsletter for behind-the-scenes tips, video tutorials, and more DIY upholstery goodness.
You might be wondering why I love to build my own ottoman frames? Read all the reasons in this post, Custom Ottomans and Benches. And don’t forget to tag me on Instagram @CobaniBleu when you build your own—I’d love to cheer you on!